I started writing this post last week and had completed several delightful paragraphs on The History of Our Family Cookie Day. Delightful, I tell you. Why then, you may ask, am I not reading said paragraphs right now?! That’s a great question. The answer is: because...2020. It’s become my junk drawer answer for all things gone wonky or that I don’t want to deal with right now. I throw those things into the 2020 drawer.
Yeah. I forgot to save my draft, made one lousy edit and somehow deleted the whole thing! Gone. Poof. Disappeared, just like most of my good intentions and plans for this year. I know, I know... I could call it what it really is: user error. But I prefer “because 2020”, so that’s what we’re going with, ‘k? ‘K. I’m so happy we talked about this. That history is a post for another day.
Even though our family can’t get together and do the Big Cookie Day, it’s one of my very favorite things about the season, so I was determined to do some version of it. Here it is then: Cookie Day v2020.
Before we get into it, here’s my Glamour Shot...
We’re going to start with an old secret family recipe! Ooooh, secret! Ha, just kidding. It came out of a Better Homes & Garden cookbook that I think my sister received as a wedding present a very long time ago. At least the “old” part is correct! Sorry, Laurie. Important Note: I doubled the recipe...
Another Important Note: although my scribbled directions don’t say it, I always make the dough the night before I want to bake the cookies. This dough has a fairly high ratio of fat (shortening) in it so it’s pretty soft right out of the bowl. It needs at least four hours to chill, preferably overnight.
Since I’m doubling the recipe here, it’s 1-1/3 cups shortening. I like to use the blocks of shortening because they’re much easier to measure, what with the handy-dandy markings on the wrapper and all...

Thanks Crisco! Ok, shortening and sugar in the bowl, beat well until light and fluffy...
Add vanilla, milk, and eggs. Mix well...
Spinny shot!...
And scrape the sides of the bowl...
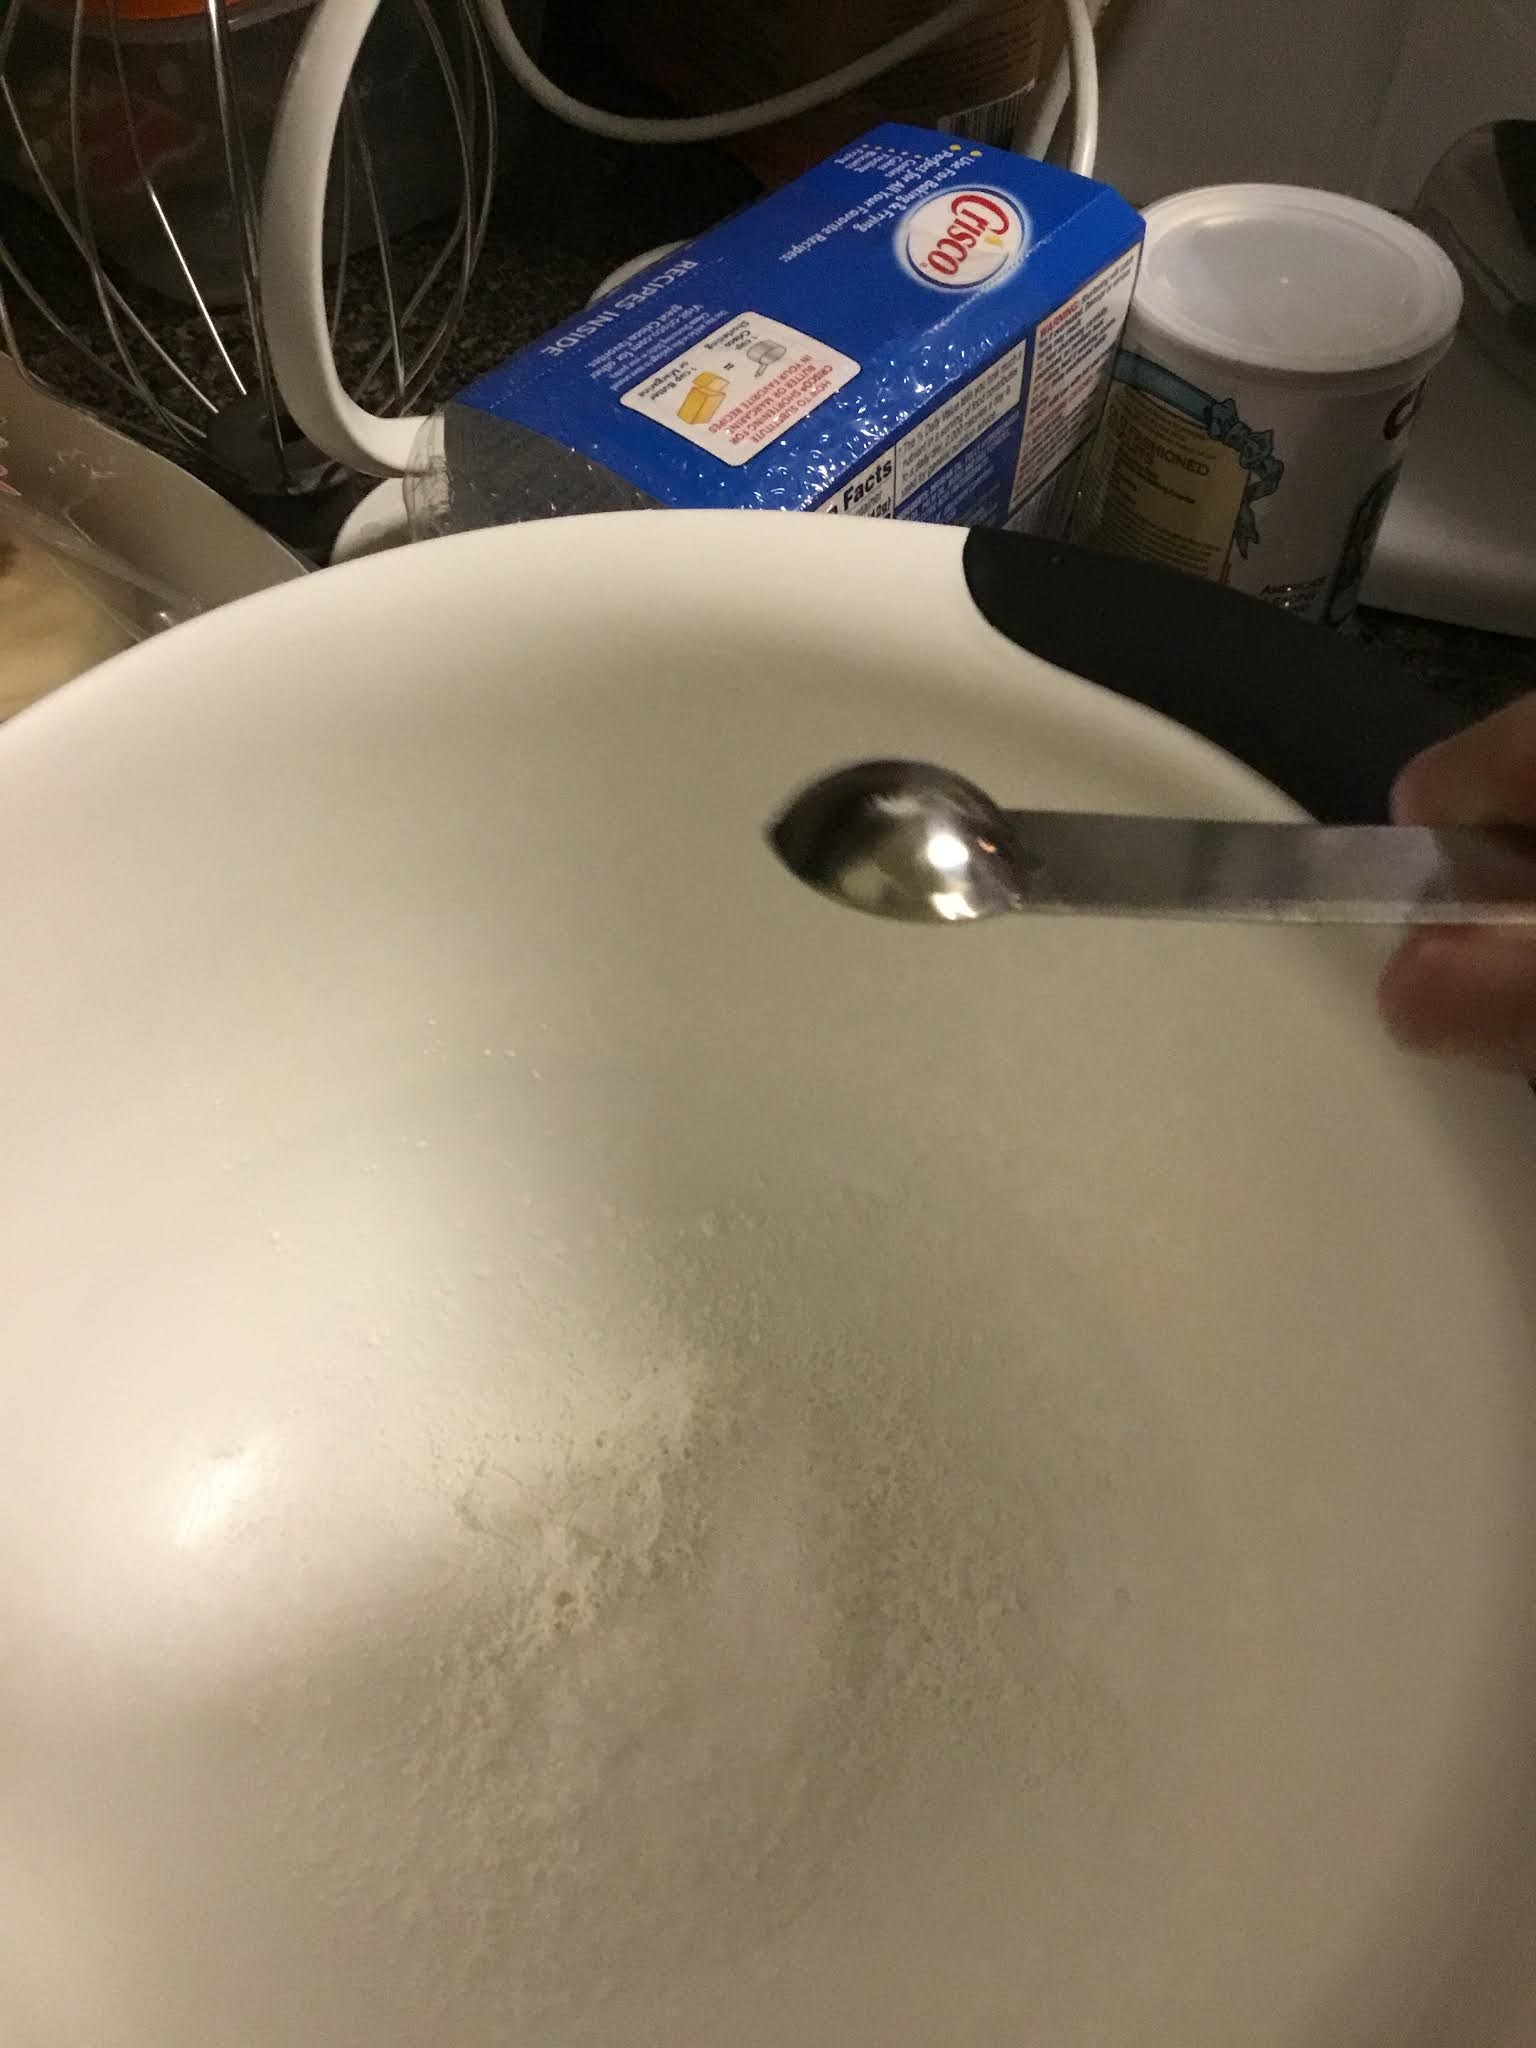
In a separate bowl, measure the dry ingredients: baking powder, salt, flour...
And whisk...
Add the dry ingredients into the mix slowly on low speed. “Slowly” and “low” are important words here, unless you want flour flying all over your kitchen. But hey, you do you!
Another spinny shot, just because I love them so...
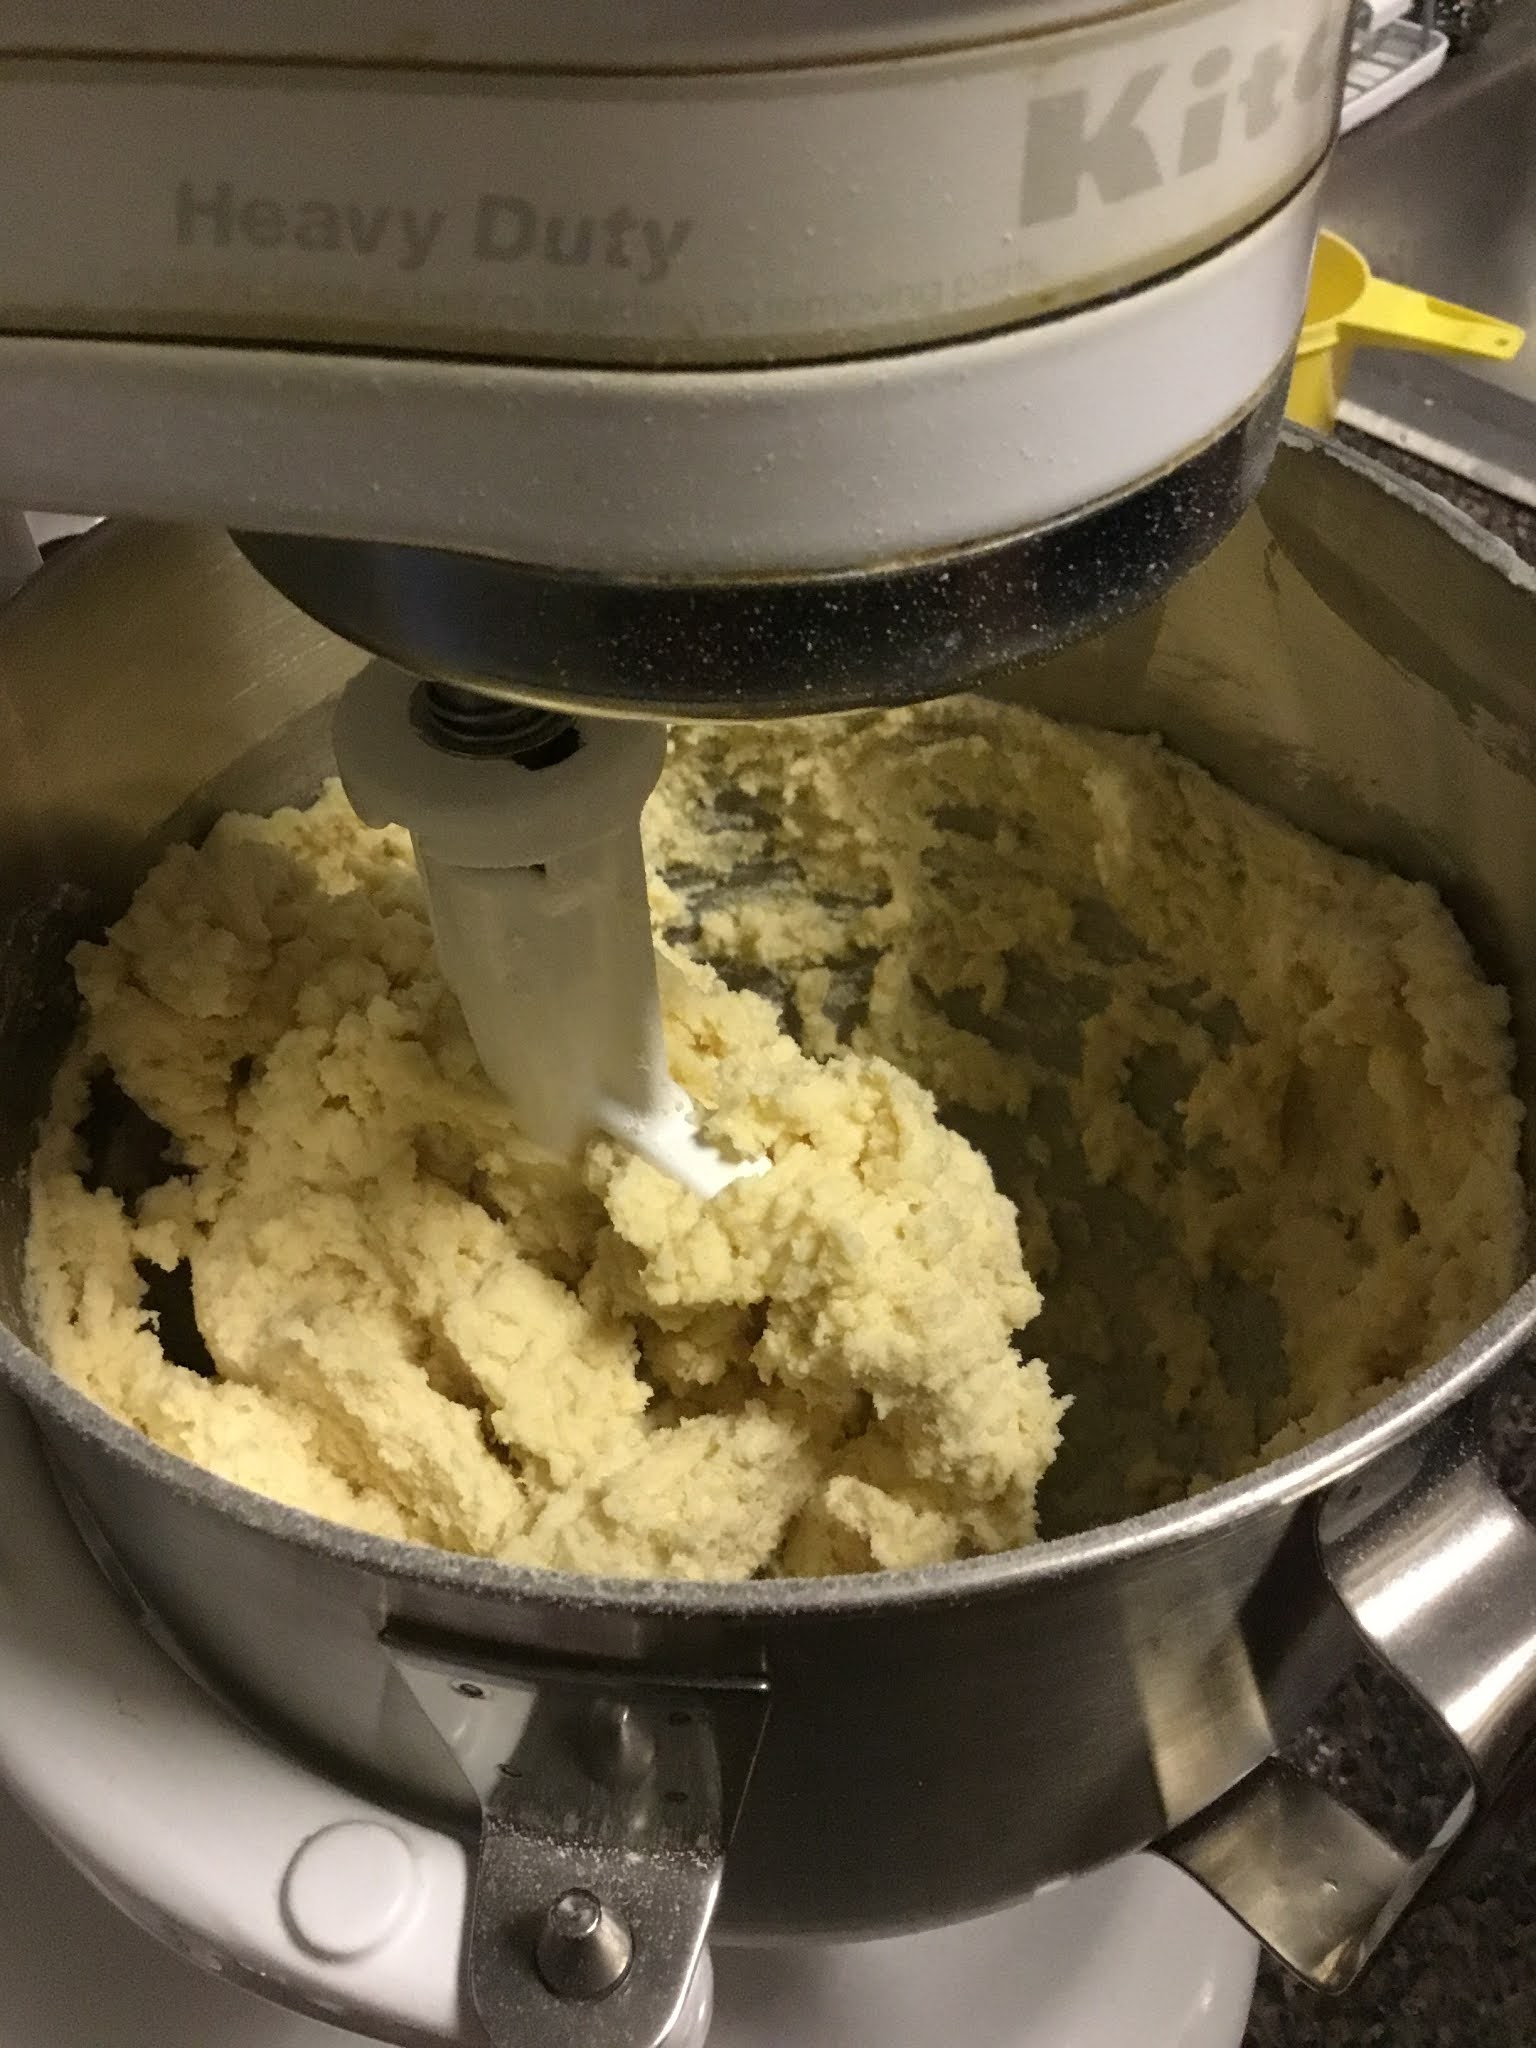
Alright, that’s enough of that silliness. The dough will look nice and shaggy, like this...
Scrape off the mixer blade and scrape the sides of the bowl again. Use your spatula to get the dough into a rough ball(ish) shape and turn it out onto a clean surface...
Use a knife to score the dough into four pieces, separate the pieces and roll each into a ball. Wrap each ball in plastic wrap, place in a bowl and chill. Again, chill at least four hours, preferably overnight.
Ok, next day and we are ready to roll! No really, it’s time. Wake up, drink some coffee and get your rolling pin out. Also your sprinkles!
Preheat the oven to 375 degrees and prep your baking sheets. I like to line mine with parchment.
Flour a clean surface and, working with one ball of dough at a time (leave the other balls in the fridge until you’re ready for them), roll the dough out to roughly 1/4” thick, depending on how fat you like your cookies. The dough will be stiff to work with at first when it’s cold. Keep working with it and it will soften up quickly. Use a little flour on both the surface of the dough and the pin to keep it from sticking as you roll...
Now comes the fun part, YAY! Keep a small dish of flour handy and dip your cookie cutter in it before you cut into the dough...
Another pro tip: to transfer the cookie cutouts to the baking sheet, dip the edge of a spatula in flour, slip it under the cookie dough and slide it onto the baking sheet. Sorry for the lack of pictures here; I get excited at the cutting out part!
This year, my cookie cutters were all pretty much medium sized. If you have cutters that vary greatly in size, load your baking sheets accordingly. In other words, don’t put a giant tree cookie on the same baking sheet as tiny mini-gingerbread people. Little shapes will bake faster than large, and you’ll end up with too-crispy ginger people and a big, underdone tree.
Bake for seven to nine minutes, watching the first batch closely. Cookies will be done when they’re just lightly golden at the edges and slightly puffy...
Cool completely before frosting.
Frosting. Oh sheesh, I could do an entire post just on the frosting, but I won’t because this is already long enough. Over the years, my sister and I have whipped up so much frosting that we don’t even use a recipe anymore. It’s powdered sugar, softened butter, some vanilla and enough milk to make it “feel right”, depending on whether it’s going into a piping bag or a little thicker for slathering onto cookies with a knife.
For purposes of this post, which is supposed to be (relatively) instructional, start with a good buttercream frosting. If you are using piping bags, thin it just a very little. You don’t want it too thin or it will just drip out of the bag and be a mess. You want the consistency just thin enough to allow for flow out of a piping bag.
This is a good place for me to say that I’m not a huge fan of royal icing. It’s great on gingerbread houses because it’s kinda like glue, in that it hardens quickly and holds things together, but I don’t think it tastes good. I much prefer buttercream for these cookies, it’s way yummier. And that’s about all I have to say about that.
Once you’ve got your frosting ready, divvy it up into small bowls for coloring, leaving some plain white too. Use either liquid or gel food coloring and make as many colors as you like. Hey, they even make black food coloring now! If you’re my age, you’ll remember having to mix ALL the colors to get black. Ah, the wonders of modern baking.
Aaaaaand off you go to decorate!
Let the cookies sit until the frosting is set and dry to the touch. Except for the ones you eat immediately. Because of Quality Control. Extremely important.
Once they’re dry, pack carefully in tins between layers of waxed paper. These cookies are even better a day or two after making. I don’t know why, except maybe it’s Holiday Magic.
And that, Rudolph, is a wrap on Cookie Day 2020! A little different this year, but maybe especially this year, these traditions are important to me. My brother John loved these Christmas cookies - and the accompanying fudge that magically found its way into his cookie tin - so I dedicate my little Cookie Day to him this year, with love and lots of wonderful memories. Love you John, and miss you every single day. I hope you’re enjoying cookies in Heaven with Mom and Grandmother, who started this whole crazy tradition so many years ago.
❤️Bonnie


Comments
Post a Comment